Garage Conversion to ADU: The Complete Permit Process Step by Step
Reading time: 14 minutes
You’ve got a detached garage sitting mostly empty, collecting dust and old paint cans. Meanwhile, your adult child needs affordable housing, your aging parent needs to live closer, or you’re eyeing the rental income potential that could offset your mortgage. Sound familiar? You’re not alone—and you’re sitting on one of the smartest real estate moves available in 2026.
Garage conversions to Accessory Dwelling Units (ADUs) have exploded in popularity across the United States. In California alone, ADU permits issued in 2025 exceeded 26,000 units, a 340% increase from pre-2020 figures. But here’s the thing most homeowners don’t talk about: the permit process is where dreams go to stall out. Missed steps, wrong forms, failed inspections—these are the hurdles that turn a 6-month project into an 18-month nightmare.
This guide is your strategic roadmap. Whether you’re just starting to think about converting your garage or you’ve already got a contractor lined up, this step-by-step breakdown will help you navigate the process with confidence, avoid costly mistakes, and get your ADU permitted and occupied as efficiently as possible.
Table of Contents
- What Exactly Is an ADU Garage Conversion?
- Pre-Permit Phase: Doing Your Homework
- The Permit Process: Step by Step
- 3 Common Challenges (and How to Beat Them)
- Cost and Timeline Breakdown
- Real-World Case Studies
- Frequently Asked Questions
- Your ADU Launch Checklist: Next Steps
What Exactly Is an ADU Garage Conversion?
An Accessory Dwelling Unit is a secondary residential unit on a single-family or multi-family residential lot. A garage conversion ADU—sometimes called a JADU (Junior ADU) if it’s under 500 square feet and shares a wall with the primary residence—involves converting an existing attached or detached garage into a livable, code-compliant housing unit.
Unlike a new construction ADU built from scratch, a garage conversion repurposes existing square footage. That’s both an advantage (lower foundation costs, faster builds) and a challenge (existing structures may not meet current building code requirements for habitable space).
Key characteristics of a garage conversion ADU include:
- Its own sleeping, cooking, and bathroom facilities
- A separate entrance from the main dwelling
- Independent utility connections (in most jurisdictions)
- Compliance with local zoning and building codes
In 2026, ADU-friendly legislation has expanded dramatically. As of early 2026, 48 states have passed some form of ADU-enabling legislation, with most states limiting local governments’ ability to outright ban them on residential lots. This is huge news for homeowners who were previously blocked by restrictive local zoning.
Pre-Permit Phase: Doing Your Homework
Before you file a single form, the preparation phase is where your project succeeds or fails. Think of it as laying the foundation before you pour the concrete.
Step 1: Verify Local Zoning Eligibility
Your first call isn’t to a contractor—it’s to your local planning department. Zoning regulations determine whether your property is eligible for an ADU at all, and what type is permitted. Key questions to ask:
- Is your lot zoned for ADUs? Most single-family zones now permit them, but multi-family and commercial zones have different rules.
- What’s the minimum lot size? Some jurisdictions require a minimum 3,500–6,000 sq ft lot.
- Are there setback requirements? Detached garages near property lines may present challenges.
- What’s the maximum allowable ADU size? Many cities cap garage ADUs at the size of the existing garage or 1,200 sq ft, whichever is smaller.
- Are owner-occupancy requirements in effect? Some jurisdictions require the owner to live on the property—though many states, including California and Oregon, have recently eliminated this requirement.
Pro Tip: Many municipalities now have online ADU pre-check tools. Los Angeles, San Jose, Seattle, and Denver all launched updated digital portals in 2025 that let you enter your address and get a preliminary eligibility summary within minutes.
Step 2: Assess Your Garage’s Physical Feasibility
Not every garage is conversion-ready without significant structural work. Before spending money on architectural plans, hire a licensed contractor or structural engineer to assess:
- Ceiling height: Most codes require a minimum 7-foot finished ceiling height for habitable space. Many older garages have 7’6″ to 8′ rough ceilings—you may be fine, or you may need to lower the slab or raise the roof plate.
- Foundation and slab condition: Garage slabs are built for vehicles, not habitation. Inspect for cracks, moisture intrusion, and whether the slab has adequate vapor barrier underneath.
- Electrical panel capacity: Adding kitchen appliances, HVAC, water heater, and general living loads will likely require a panel upgrade.
- Plumbing proximity: Running new drain lines is expensive. Assess how far your garage sits from existing sewer laterals.
- Insulation status: Garages rarely have proper insulation. Budget for full wall, ceiling, and potentially slab insulation.
The Permit Process: Step by Step
Here’s the core of what you need to know. The process varies somewhat by municipality, but the following framework applies to the vast majority of jurisdictions in the U.S. in 2026.
Step 3: Hire a Designer or Architect
Unless you’re a licensed contractor or architect yourself, you’ll need professional plans. Your options in 2026 include:
- Full-service architect: Most comprehensive, most expensive ($3,000–$12,000 for plans). Best for complex conversions or jurisdictions with strict design review.
- ADU-specialized designer: Many firms now specialize exclusively in ADUs and know your local codes inside-out. Costs typically run $1,500–$6,000.
- Pre-approved ADU plan programs: Cities like Sacramento, Los Angeles, San Diego, and Portland offer pre-approved “standard” ADU plans that can dramatically cut both design costs and permit review time. Check if your city participates.
- Design-build ADU companies: Firms like Abodu, Cottage, and Dweller handle design and construction together—streamlined but less flexible for custom needs.
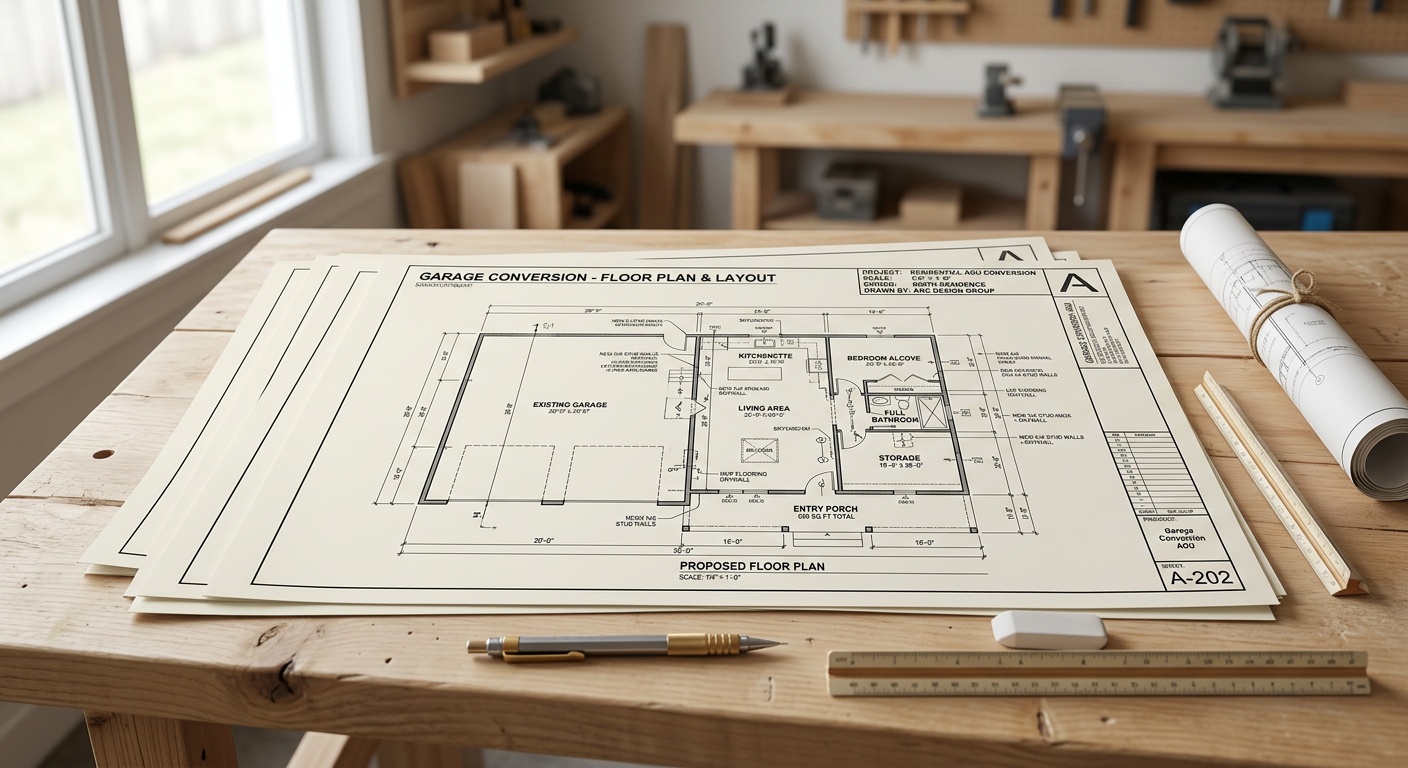
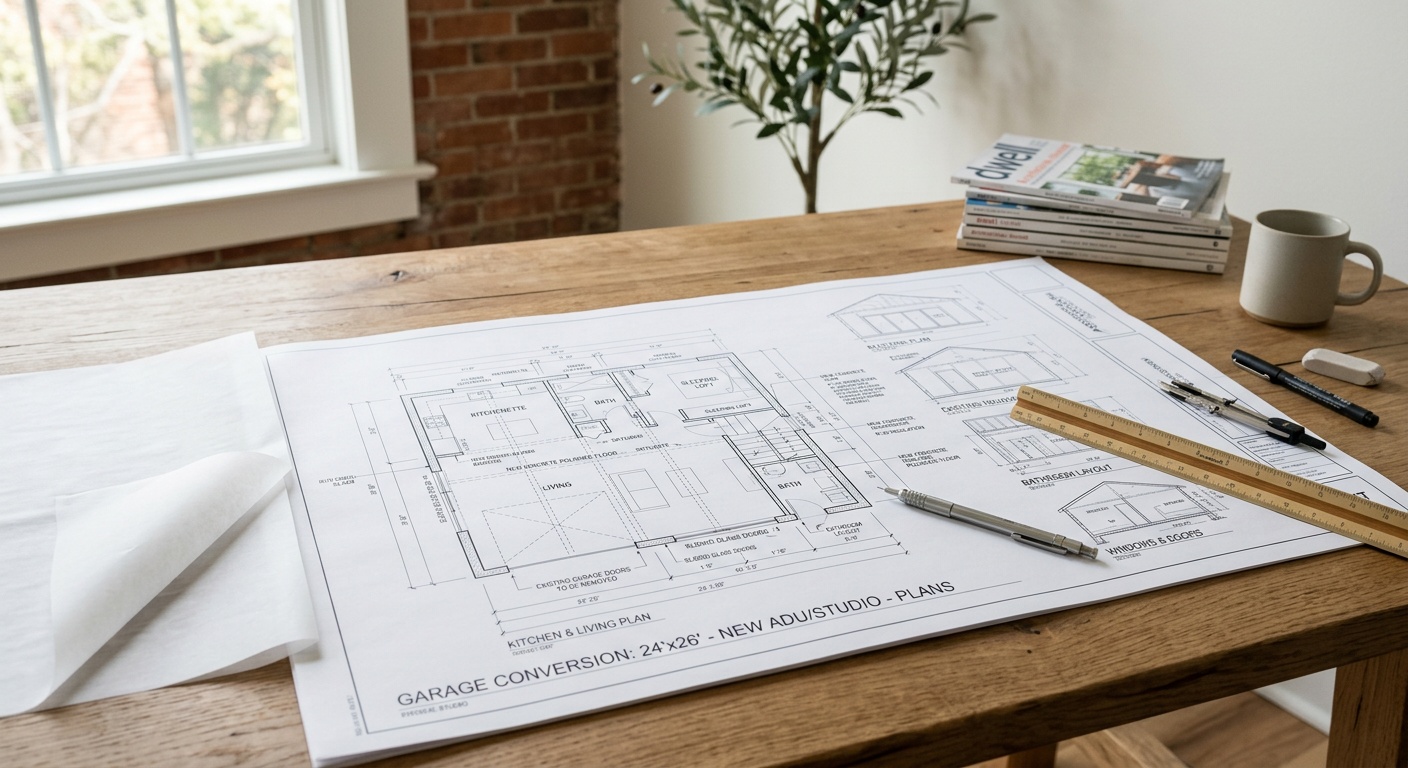
Your plans must typically include: site plan, floor plan, elevations, electrical plan, plumbing plan, mechanical plan (HVAC), and energy compliance documentation (usually a Title 24 or equivalent calculation).
Step 4: Submit Your Permit Application
With completed plans in hand, you’ll submit to your local Building Department. In 2026, most mid-to-large cities accept digital submissions, though many smaller municipalities still require in-person filing. Here’s what’s typically included in your application package:
- Completed permit application form (obtain from building department website)
- Two to four sets of stamped architectural plans
- Site plan showing property lines, existing structures, and proposed ADU
- Energy calculations (Title 24 in California, similar documents in other states)
- Structural calculations (if structural modifications are proposed)
- Soils report (rarely required for conversions, but ask your designer)
- Application fee (varies widely—see cost table below)
Timing insight: Under California’s SB 9 and AB 2221 (updated through 2025), municipalities must act on complete ADU applications within 60 days. Many states have adopted similar timelines. If your jurisdiction is slower, check your state’s ADU legislation for mandated review deadlines—and don’t hesitate to follow up.
Step 5: Navigate Plan Check and Corrections
Plan check (also called plan review) is the period where the building department reviews your submitted plans for code compliance. First-round approval is relatively rare—most projects receive a “correction list” requiring changes or additional documentation.
Common plan check corrections include:
- Insufficient egress window sizing for bedrooms
- Missing smoke/CO detector placement on plans
- Inadequate bathroom ventilation specifications
- Unclear or missing electrical load calculations
- Non-compliant ceiling height documentation
Work closely with your designer to respond to corrections promptly. Each round of resubmittal adds 2–6 weeks to your timeline, so getting corrections right the first time matters enormously.
Step 6: Pull the Permit and Begin Construction
Once your plans are approved, you’ll pay the remaining permit fees and receive your building permit. Do not begin construction before this step. Unpermitted work not only creates legal liability but can result in stop-work orders, mandatory demolition of completed work, and significant fines.
Post your permit card visibly at the job site. Most jurisdictions require it to be visible from the street during active construction.
Step 7: Schedule and Pass Required Inspections
This is one of the most underestimated parts of the process. Inspections happen at multiple stages of construction—not just at the end. Missing an inspection checkpoint can require opening up completed walls, which is costly and demoralizing.
Typical inspection stages for a garage ADU conversion:
- Foundation/Slab Inspection: If you’re adding a sub-slab vapor barrier, in-slab plumbing, or new footings
- Framing Inspection: After framing, blocking, and rough structural work are complete, before insulation
- Rough Plumbing Inspection: After all rough plumbing is installed but before walls are closed
- Rough Electrical Inspection: After wiring is run but before insulation and drywall
- Rough Mechanical Inspection: After ductwork and HVAC rough-in
- Insulation Inspection: In many jurisdictions, insulation must be inspected before drywall
- Drywall/Lath Inspection: Some jurisdictions inspect drywall installation before finishing
- Final Inspection: After all work is complete, including finish plumbing, electrical fixtures, HVAC commissioning, and landscaping if required
Strategic tip: Build your construction schedule around inspection availability, not the other way around. In busy jurisdictions, inspection appointments can be booked out 1–3 weeks. Coordinate with your contractor to request inspections as early as possible to avoid costly delays waiting in the queue.
Step 8: Obtain Certificate of Occupancy
Passing your final inspection triggers issuance of a Certificate of Occupancy (CO)—your golden ticket. The CO legally certifies the space as a habitable residential unit. Without it, you cannot legally rent the unit, and your homeowner’s insurance may not cover it as a residential space.
In some jurisdictions, you’ll also need to record the ADU with the county assessor’s office, which will adjust your property tax assessment. This is normal and expected—plan for a modest property tax increase reflecting the added value.
3 Common Challenges (and How to Beat Them)
Challenge 1: The Ceiling Height Problem
Perhaps the most common structural deal-breaker in garage conversions. A standard two-car garage often has 7’0″ to 7’2″ of rough ceiling height. After adding insulation and drywall (typically 3–4 inches total), you’re under the 7-foot minimum for habitable space required by most codes.
Solutions: You have three realistic options—excavate and lower the slab (expensive, $8,000–$20,000 but very clean), raise the roof plate by adding a structural “kicker” wall (moderate cost, $5,000–$12,000, requires structural engineering), or in some jurisdictions, document that the finished ceiling meets minimum requirements with a creative framing approach. Always verify the exact minimum with your local building department before assuming the worst.
Challenge 2: Parking Replacement Requirements
When you convert a garage to an ADU, you’re eliminating covered parking. Many jurisdictions traditionally required one-for-one parking replacement—meaning you’d need to build a carport or new garage space to compensate. This was a major project killer.
Good news in 2026: Under state ADU laws in California, Oregon, Washington, Massachusetts, and Colorado (among others), parking replacement is no longer required for garage ADU conversions in most circumstances—particularly if the property is within half a mile of transit. Check your specific state’s current exemptions, as this landscape has changed significantly in the past two years.
Challenge 3: Utility Connection Complexity
Adding a new dwelling unit typically requires separate utility meters, new sewer lateral capacity, and sometimes a new electrical panel or sub-panel. In older neighborhoods, the existing sewer lateral may be undersized or deteriorating.
How to navigate it: Order a sewer scope inspection early in your planning—before you finalize your budget. A $150–$350 sewer scope can reveal whether you’re dealing with a simple tap or a $15,000 lateral replacement. Similarly, contact your utility company early to understand electric service upgrade requirements. Many utility companies now offer ADU-specific connection programs with expedited timelines.
Cost and Timeline Breakdown
Comparative Overview: Garage ADU Permit Costs by Region (2026)
| Region | Avg. Permit Fee | Avg. Review Time | Total Conversion Cost | ADU-Friendliness |
|---|---|---|---|---|
| Los Angeles, CA | $8,000–$14,000 | 45–60 days | $120,000–$200,000 | ⭐⭐⭐⭐⭐ |
| Seattle, WA | $5,500–$9,000 | 60–90 days | $100,000–$170,000 | ⭐⭐⭐⭐ |
| Austin, TX | $2,500–$5,000 | 30–60 days | $80,000–$140,000 | ⭐⭐⭐⭐ |
| Chicago, IL | $3,000–$7,000 | 90–150 days | $90,000–$155,000 | ⭐⭐⭐ |
| Atlanta, GA | $1,800–$4,000 | 45–75 days | $75,000–$125,000 | ⭐⭐⭐ |
Average Timeline From Concept to Certificate of Occupancy
Pre-Design & Feasibility
Design & Plan Preparation
Plan Check & Permit Approval
Construction Phase
Final Inspection & CO
Total realistic timeline: 8–14 months from first consultation to receiving your Certificate of Occupancy. Projects using pre-approved plan programs can cut this to 5–8 months.
Real-World Case Studies
Case Study 1: The Carvalho Family in Pasadena, California
In early 2025, Marcus and Elena Carvalho converted their detached two-car garage (480 sq ft) into a studio ADU for Elena’s mother. Their process took 9 months total. The key decisions that kept them on track:
They used Los Angeles County’s pre-approved ADU plan library, selecting a studio layout that matched their garage footprint almost exactly. This eliminated three to four weeks from the plan check phase. Their biggest surprise? The electrical service upgrade required by the utility—it added $4,200 and six weeks they hadn’t planned for. Final cost: $118,000 including all permits, construction, and utility upgrades. Their property was reassessed, adding approximately $1,400/year in property taxes—easily offset by the zero rent Elena’s mother “pays” in care and family support.
Lesson: Pre-approved plan programs are a massive time-saver. Always scope your utility upgrade needs before finalizing your budget.
Case Study 2: James Okafor in Austin, Texas
James converted his attached single-car garage (240 sq ft) into a JADU in late 2025 with a rental income focus. At under 500 sq ft and sharing a wall with his main home, it qualified as a Junior ADU under Texas’s updated ADU legislation, which streamlined his permit requirements significantly.
His permit came back approved in 31 days—a testament to Austin’s increasingly efficient digital permitting portal launched in 2024. Total construction cost was $68,000. He listed the unit on a long-term rental platform and secured a tenant at $1,450/month before the Certificate of Occupancy was even issued. His estimated payback period: 7.8 years, with 100% return on investment achievable by 2033.
Lesson: JADU conversions in ADU-progressive states can dramatically simplify permitting. Rental income projections should be validated before construction begins.
Frequently Asked Questions
Do I Need an Architect, or Can I Use a Contractor to Draft Plans?
In most jurisdictions, plans submitted for ADU permits must be prepared by a licensed architect or structural engineer, particularly when structural modifications are involved. Some states allow licensed contractors to draft plans for simpler projects. However, given the complexity of habitability requirements, energy compliance documentation, and the cost of resubmitting corrected plans, hiring an ADU-specialized architect or designer is almost always worth the investment. In 2026, expect to pay $1,500–$8,000 for professional ADU design drawings depending on complexity and your market.
Will Converting My Garage Affect My Homeowner’s Insurance?
Yes—and this is a step many homeowners skip at their peril. Once your garage is converted to a livable ADU, you need to update your homeowner’s policy to reflect the new use. A standard policy may not cover a rental unit, and if a tenant or their guest is injured in an unpermitted or uninsured ADU, your liability exposure is significant. Contact your insurance provider before construction begins. Most insurers offer ADU endorsements or can guide you toward a policy that covers both the primary residence and the ADU as a rental. Premiums typically increase by $300–$800/year.
Can I Convert My Garage to an ADU Even If I Have an HOA?
This is one of the most frequently misunderstood areas of ADU law. While state laws in California, Washington, Colorado, and several other states now restrict HOAs from outright banning ADUs, HOAs may still regulate aesthetics—exterior finishes, paint colors, window styles—and may require design review approval. In states without HOA preemption laws, your HOA’s CC&Rs may still block a conversion entirely. Review your HOA documents carefully and consult with a real estate attorney before investing in design fees. If your HOA’s rules conflict with state law, you have recourse—but you’ll want legal clarity before you start.
Your ADU Launch Checklist: Next Steps
You’ve absorbed a lot of information. Now let’s turn it into momentum. Here’s your practical implementation checklist—work through these in sequence for the smoothest possible path to a permitted, occupied ADU:
- ✅ Week 1–2: Visit or call your local planning department to verify zoning eligibility and request any ADU-specific handouts or pre-check tools
- ✅ Week 2–3: Hire a contractor or structural engineer for a preliminary feasibility assessment of your garage (ceiling height, foundation, electrical, plumbing proximity)
- ✅ Week 3–4: Research ADU designers in your area; check if your city offers pre-approved plan programs
- ✅ Month 2–3: Engage your designer, begin plan development, and contact your utility company early about electric and sewer requirements
- ✅ Month 3–4: Submit permit application with complete plan set; track review deadlines under your state’s ADU law
- ✅ Ongoing: Respond to plan check corrections quickly, schedule inspections in advance, and update your insurance policy before construction begins
The housing affordability crisis has made ADUs one of the most practical and impactful tools available to individual homeowners in 2026. Converting a garage isn’t just a financial decision—it’s a contribution to your community’s housing stock, a hedge against rising rents if you’re accommodating family, and potentially a significant wealth-building move.
Here’s the question worth sitting with: If your garage conversion ADU could be occupied within 12 months—generating rental income or housing someone you love—what’s the cost of waiting another year to start?
The permit process is manageable. The challenges are surmountable. And the reward—a fully legal, income-generating or family-supporting living space—is concrete and lasting. Start with one phone call to your planning department this week. That single step separates the homeowners who dream about ADUs from the ones who actually build them.